Nail Care, Polish and Nail Designs
Welcome to my page all about nail care, nail polish and nail designs. I have been a licensed cosmetologist specializing in skin care, makeup and nail care for 30+ years. I've seen trends come and go and come back again!My philosophy for beautiful nails is that the nails and skin surrounding the nails must be nurtured gently with regular manicures, pedicures and home care to grow strong and healthy.
Tips and silk wraps are my go method for extending and repairing nails due to the minimal damage they cause to the nail plate.
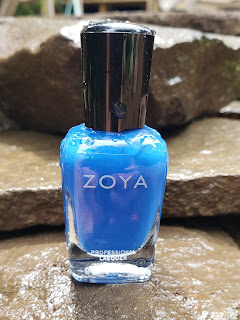
Nail polishes formulated for natural nails, such as Zoya, are my go to polishes. They wear well and cause very little nail dehydration and cause no thinning of the nails like gel polish.
See me at the salon, Styling Point in Media, Pa. for a good old fashioned healing manicure and pedicure.
It is so important in today's competitive world to have a clean, polished appearance. This is especially important when it comes to the hands.
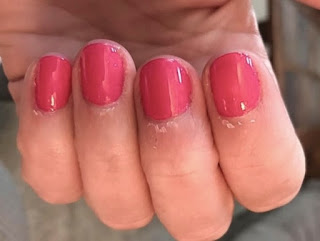
Chipped polish, frayed cuticles, and dry cracked skin suggest a lack of attention to details.
One of my clients, who works in HR, says she is very aware of the grooming of the hands when she interviews potential employees.
Scroll to see links for info on:
Zoya Nail Polish Colors & Swatches
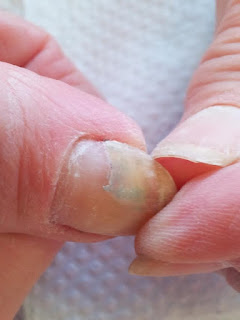
Proper Nail Care
Nail Problems and Solutions
Cuticle Care
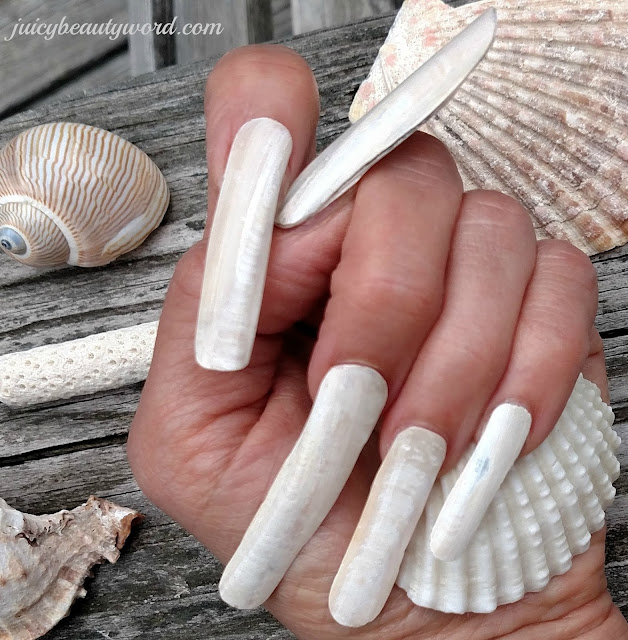
Artificial Nails
Pedicure Safety
Foot Care
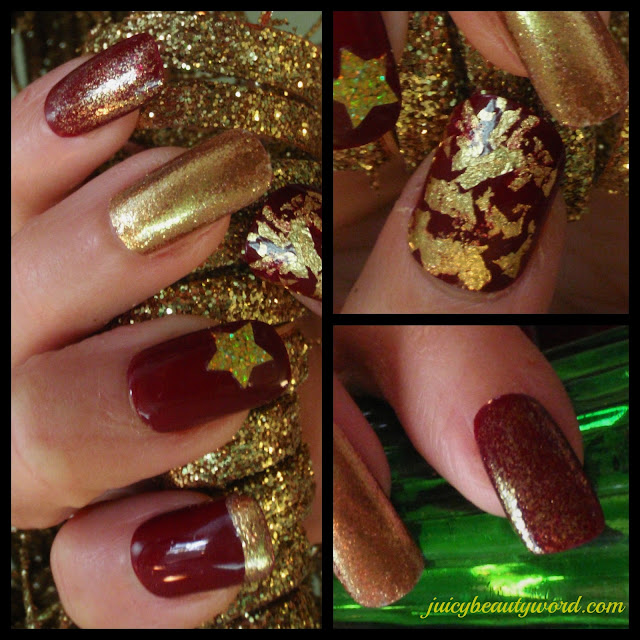
Nail Art
Zoya Nail Polish Collections
Zoya is my favorite healthy nail polish brand! It wears well on natural nails and is 10 free. Did I mention the colors are amazing!!!
I do seasonal posts with swatches, color descriptions and fun pics of the beautiful Zoya nail polish colors.
Nail Care
Nail Problems
Cuticle Care
Nail Polish
Artificial Nails
Pedicures & Foot Care
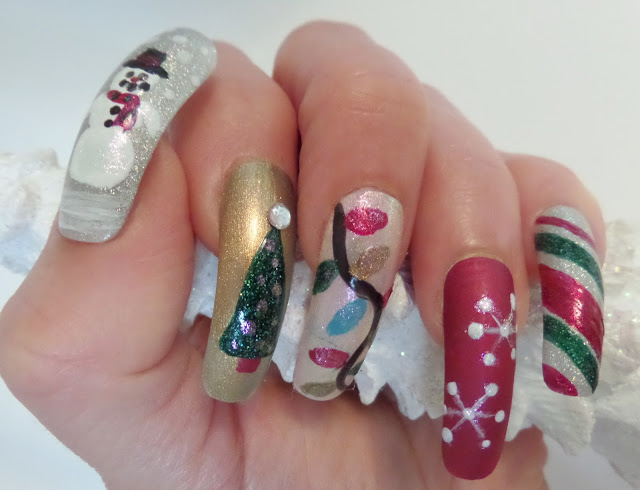
My Nail Art!
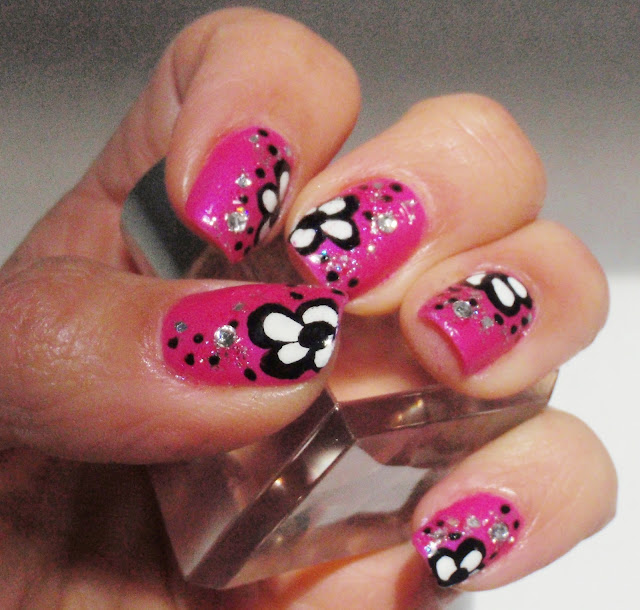
Flower Power Nail Designs
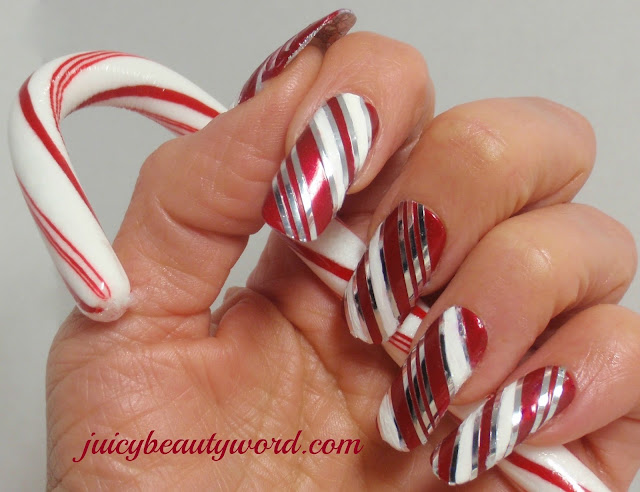
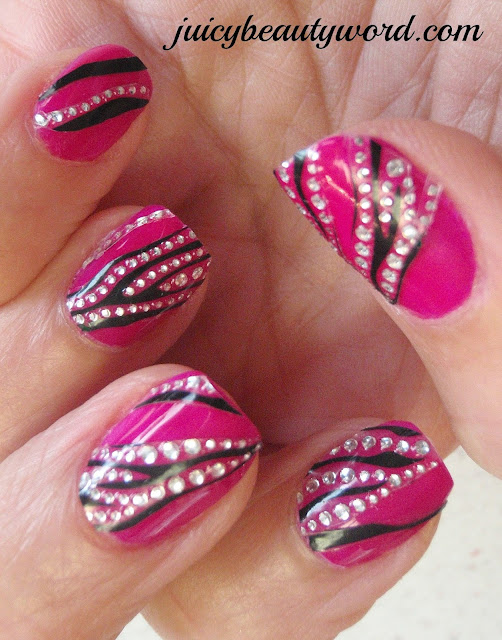
Stripy Nail Designs
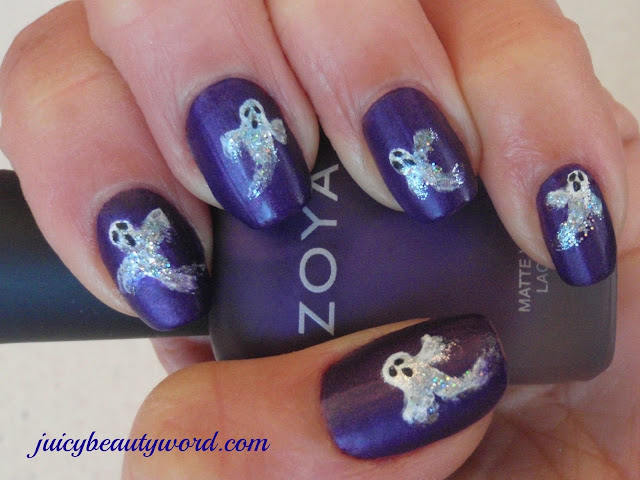
Ghost Nail Designs
Candy Corn Nail Designs

Water Marbleized Nail Designs
Stripy Nail Designs
Candy Corn Nail Designs

Water Marbleized Nail Designs
2-4 Polish Colors for Design
Top Coat
Polish Remover
Toothpicks
An Orangewood Stick Covered with Cotton on one end
A Small Glass Bowl Filled with Water
How to
1. Start with your nails polished in a color that will compliment your design. White works well as a base color because the colors you use for the design will look bright and clear.How to
2. Shake up the nail polish bottles that you are going to use for your design and unscrew the caps. You will need to work fast and this will make it easier.
3. Start with one color. Load the polish brush with a lot of polish. Allow a drop of polish to drip from the brush into the bowl of water. It will spread out in a circle. Do this with each color placing the drops of polish inside the circle formed by the previous color.
4. Use a toothpick to quickly swirl the colors together.
5. Dip you nail into the swirly polish and lift it right out. If you feel you need more color, you can dip again.
6. Clean the skin around the nail by dipping the cotton tipped orangewood stick into polish remover and wiping around the nail.
7.Repeat on all your nails or just a select few. You may be able to dip more than one nail in the same marbleized mix depending on how fast you work.
8. Use a clear top coat to finish.
Tips: Glitter polish adds some glitz swirled into the mix of colors. Use polish colors that are not sheer for an intense design. Use sheer polish for a soft subtle design. A mix of light and dark colors, such as black and white, will give you a well defined bold design.
 |
Have a Beautiful Nail Day!
PS: Thanks for using my amazon & direct links💋
As an Amazon Associate, I earn from qualifying purchases at no cost to you. That keeps my blog running and supports the care of animals in need!😸
xo
Licensed Cosmetologist, Esthetician, Makeup Artist
As an Amazon Associate, I earn from qualifying purchases at no cost to you. That keeps my blog running and supports the care of animals in need!😸
